
When the temperatures begin to drop in Colorado, homeowners rely heavily on their heating systems to keep their living spaces warm, safe, and comfortable. If your furnace is old, inefficient, or failing, installing a new one becomes a priority. However, many homeowners don’t fully understand what the installation process involves. Knowing what happens during a professional furnace installation can help you prepare, ask the right questions, and feel confident in the upgrades being made to your home.
This guide walks you step-by-step through the complete process of Furnace Installation in Highlands Ranch, CO, from initial assessment to post-installation testing. By the end, you’ll have a clear understanding of what to expect and why a professional installation is essential for long-term reliability and efficiency.
Why Professional Installation Matters
A furnace is one of the most important appliances in your home—and also one of the most complex. Installing it requires specialized knowledge, safety training, precision, and the ability to follow state and local building codes. Professional installation:
- Ensures the furnace is correctly sized
- Guarantees safe gas and electrical connections
- Improves long-term performance
- Protects manufacturer warranties
- Ensures proper airflow and venting
- Reduces risk of carbon monoxide leaks
Because of Colorado’s cold climate, having a properly installed furnace is crucial for both comfort and safety.
1. Initial Home Evaluation and Load Calculation
Before the furnace is installed, the HVAC contractor performs a detailed evaluation of your home. This includes:
- Checking insulation levels
- Assessing window and door efficiency
- Measuring square footage
- Evaluating duct condition
- Inspecting existing electrical and gas lines
One of the most important parts of this evaluation is the Manual J load calculation, which determines:
- The correct furnace size (BTU capacity)
- How much heat your home loses
- How powerful your furnace must be to keep up with Colorado winters
Proper sizing prevents issues like short-cycling, uneven temperatures, high energy bills, and reduced furnace lifespan.
2. Removing the Old Furnace
If you are replacing an existing heating system, the installers will safely disconnect and remove the old unit. This involves:
- Shutting off gas and electrical connections
- Disconnecting the venting system
- Detaching duct connections
- Removing the furnace from its platform or utility area
- Safely disposing of the old equipment
Professional teams follow strict safety procedures to avoid gas leaks or electrical hazards during removal.
3. Preparing the Installation Area
Before the new furnace is installed, the technicians prepare the workspace to ensure a clean, safe environment. Preparation may include:
- Cleaning the platform or base where the furnace will sit
- Leveling the platform
- Making adjustments to ductwork if needed
- Inspecting and updating the venting system
- Verifying that gas lines meet current safety codes
- Checking electrical wiring for compatibility
In Highlands Ranch, local building codes require specific venting, gas line sizing, and electrical configurations, so the installation area must be updated to meet these standards.
4. Installing the New Furnace
Once everything is prepped, the new furnace is brought in and carefully positioned. The installation process involves:
A. Connecting the Gas Line
Technicians ensure the new unit is properly linked to your gas supply with secure fittings and safety valves. They check for leaks using approved testing tools.
B. Wiring the Electrical Components
The furnace is connected to your home’s electrical system, ensuring proper communication with the thermostat and safety controls.
C. Attaching the Venting System
Depending on the furnace type:
- Standard furnaces use metal flue pipes
- High-efficiency furnaces require PVC venting for intake and exhaust
Venting must be perfectly installed to prevent carbon monoxide buildup.
D. Connecting Ductwork
Supply and return ducts are attached and sealed to ensure proper airflow throughout the home. Any gaps or leaks can reduce efficiency and comfort.
E. Setting Up the Condensate Drain (if applicable)
High-efficiency furnaces generate condensation, which must be drained safely. Installers set up or update the drain system to prevent leaks or flooding.
F. Installing Air Filters and Accessories
If you selected add-ons such as:
- Whole-home humidifier
- Air purifier
- Smart thermostat
They are installed at this time.
5. Thermostat Installation and Calibration
Your thermostat plays a key role in how your furnace operates. During installation, the technician will:
- Install a new thermostat if chosen
- Reconnect your existing thermostat
- Verify wiring compatibility
- Sync the thermostat with the new furnace
- Program temperature and efficiency settings
Smart thermostats can be configured for automated schedules, remote control, and energy-saving modes.
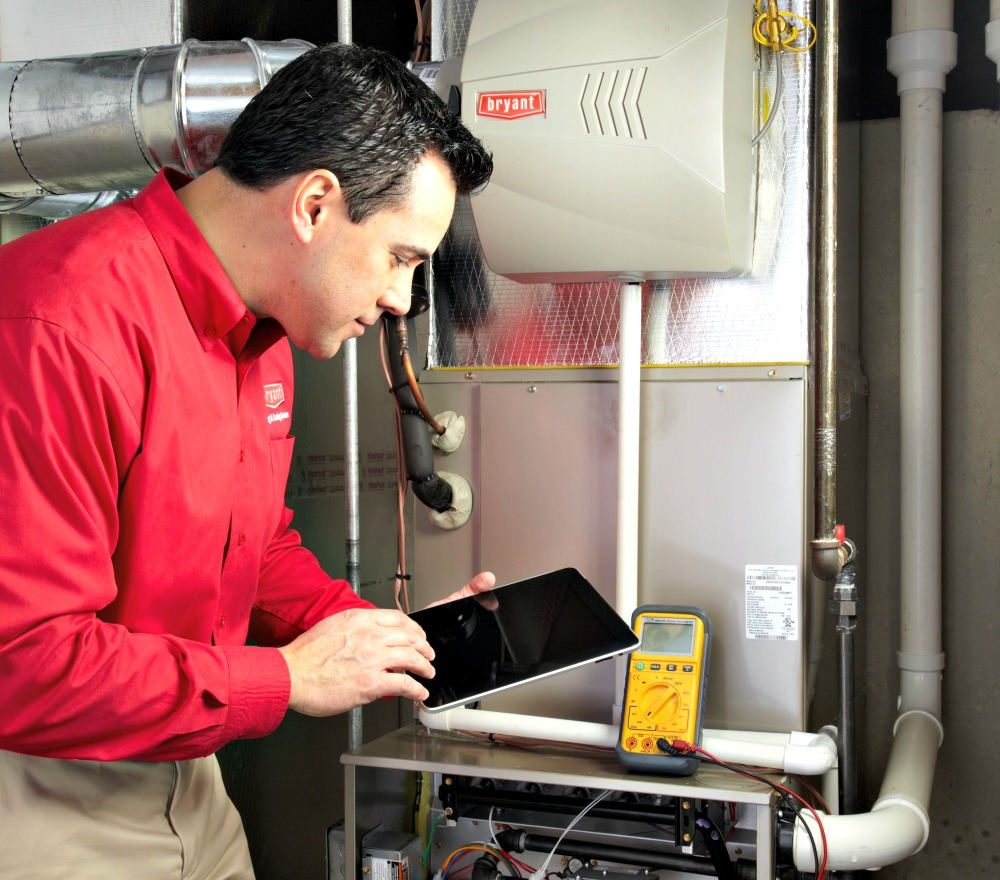
6. System Testing and Safety Inspections
Once the furnace is physically installed, the next step is a full system startup and safety inspection. This stage ensures your new furnace is operating correctly and efficiently.
The technician checks:
- Proper ignition and shutdown cycles
- Gas pressure and airflow
- Carbon monoxide levels
- Temperature rise within manufacturer guidelines
- Thermostat communication
- Motor, burner, and blower performance
- Venting and exhaust functionality
This detailed testing process ensures your furnace is safe and ready for the long winter ahead.
7. Final Walkthrough and Homeowner Education
After testing, the installer provides a complete walkthrough of the system. This includes:
- How to operate the thermostat
- How often to change air filters
- What noises or signs may indicate a problem
- Recommended maintenance schedule
- Warranty information
- How to maximize energy efficiency
- Instructions for keeping the furnace area clear and safe
Homeowners also receive documentation, manuals, and warranty registration details.
8. Post-Installation Maintenance Recommendations
After Furnace Installation in Highlands Ranch, CO, HVAC professionals recommend the following to protect your investment:
A. Annual furnace tune-ups
A yearly HVAC inspection keeps your furnace running efficiently and prolongs its lifespan.
B. Filter replacement every 1–3 months
Dirty filters restrict airflow and increase wear on the system.
C. Monitoring energy bills
A sudden rise may indicate an efficiency issue.
D. Keeping vents open and unobstructed
Closed vents can cause pressure imbalances and strain the system.
E. Maintaining a clear area around the furnace
Avoid storing flammable items near the furnace.
Why Highlands Ranch Homeowners Benefit from Professional Installation
Highlands Ranch experiences cold winters, large temperature swings, and dry air conditions—all of which demand a properly installed and efficient furnace. Local HVAC professionals:
- Understand altitude adjustments needed for gas furnaces
- Know regional building codes and permit requirements
- Are familiar with local climate challenges
- Provide installation services designed for Colorado homes
- Offer long-term support and maintenance
With professional installation, homeowners get peace of mind and significant long-term savings.
Final Thoughts
A professional furnace installation is a detailed process that ensures your home stays safe, warm, and energy-efficient—especially in Colorado’s winter climate. From load calculations and equipment selection to installation, testing, and homeowner education, every step plays a vital role in the system’s performance. When handled by qualified experts, Furnace Installation in Highlands Ranch, CO provides long-term reliability, comfort, and peace of mind. By understanding the installation process, homeowners can make informed decisions and enjoy a smooth, successful upgrade to their home’s heating system.